
What Does Elevated Bar Design Mean?
Elevated bar design is the intentional shaping of comfort, rhythm, visibility, sound, touch, and service cues around the guest’s drink experience. It abandons luxury for its own sake. Instead, it focuses entirely on the physical details that make ordering, waiting, sipping, talking, and lingering feel better.
A beautiful marble bar can still feel unelevated if guests have no foot support, the menu disappears in low light, and the bartender’s task area is too dim for clean service. In Houston bar culture, the pressure window often concentrates from around 5:30 p.m. to 8:00 p.m. for pre-dinner drinks. The room's rhythm shifts again later in the evening when guests arrive after dinners, shows, private events, or nearby gatherings.
Humidity-sensitive details matter immediately at the threshold. The door sweep, host placement, air curtain effect, and entry zone determine whether the lounge feels composed or sticky and congested. Guests moving between dining rooms, patios, and bar seats carry the outdoor climate with them, making that initial entry zone a critical design boundary.
Criteria for Selection: Details That Change the Guest’s Night
The selection standard for a successful lounge atmosphere relies on three strict filters. First, the detail must be visible or felt by the guest. Second, it must help staff rather than slow them down. Third, it must survive repeated nightly use. That keeps the design adaptable to a real working lounge rather than functioning only as a showpiece bar.
A practical evaluation pass should happen during at least two live service periods: one early seating window and one higher-energy window. Evaluate the room through three specific lenses: sensory impact, service efficiency, and durability.
Durability requires judging materials against nightly contact points. Inspect the bar edge, stool foot ring, host stand corner, menu cover, door pull, under-bar hooks, restroom path, and service-station approach. These zones take the heaviest physical abuse and reveal material failures first.
Note: This framework serves as an editorial design guide for cocktail lounges and fine-dining bars, not a replacement for architectural, fire, health-department, or local permitting advice. Accessibility-related choices should be checked against official ADA Standards for Accessible Design and project-specific professional guidance before drawings are finalized, especially around routes, counters, seating mix, restrooms, and clearances.
Before the List: Read the Room Like Service Staff
Design weaknesses usually appear as behavior before anyone names the design problem. During service, guests who hold a menu near a candle are reporting a lighting issue long before they complain to a server. Guests squinting at menus, shouting over music, crowding the well, or abandoning awkward seats are reacting to spatial friction.
From multi-destination comparison, observe the room at three fixed moments to capture the full operational arc. Watch the first arrival hovering around 5:00 p.m. Monitor peak compression pushing 7:00 p.m. Finally, track final-round behavior shy of midnight.
Mark guest hesitation points in real time. Watch the door entry, host stand, first view of the bar, menu handoff, stool selection, restroom route, patio door, and payment moment. Houston-specific transitions require special attention. Warm-weather patio returns, valet queuing near the entrance, private dining spillover, and guests moving from a dining room to the bar for one last cocktail all dictate which design details matter most.
The Nine Design Details Worth Studying
These nine details allow for direct inspection during service without relying on architectural renderings. They separate a functional room from a memorable one.
1. Layered Lighting That Separates Mood From Function
Lighting dictates whether guests can read and bartenders can pour. Test lighting at actual service hours, not midday. Check the room once before sunset, once during the early-evening transition, and once after the room relies mostly on interior lighting. Bartenders need clarity at the bar top, while guests require a soft ambient glow and gentle accent light on bottles or artwork.
2. Bar Edge Comfort: Foot Rails, Bag Hooks, and Elbow Room
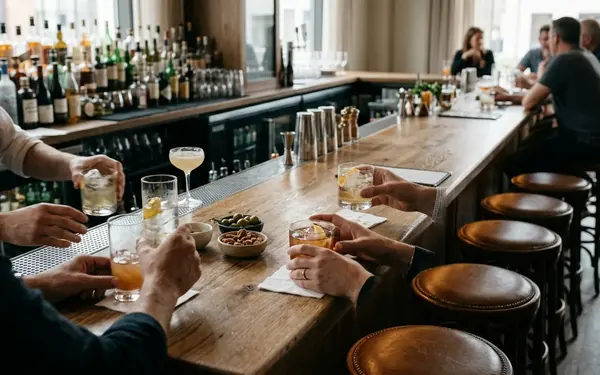
Small physical supports make guests settle in. Check whether the brass foot rail is continuous exactly where guests actually sit. Bag hooks must sit at a reachable height without forcing guests to crouch. Provide enough under-bar ledge space so elbows can rest without colliding with menus, coupe glasses, water glasses, or cramped place settings.
3. Conversation Seating Geometry
Test conversation seating with two guests seated at normal posture. If one guest must twist fully away from the aisle or lean into a server path to speak, the seat angle is performing poorly. Lounge seating must facilitate eye contact without demanding physical strain.
4. Acoustic Softness in High-Traffic Zones
Adding louder music or more candles may make a lounge look atmospheric in photos while making conversation, scent balance, and cocktail aroma worse during service. Audit acoustic softness by listening for harsh reflections near hard ceilings, bare walls, stone floors, glass partitions, and open kitchen edges. Conduct this test during a full room rather than an empty pre-shift room.
5. Material Resilience Against Spills and Wear
Material testing should include condensation, citrus oil, red wine, candle soot, handbag hardware, and ring marks because those are common contact conditions in a cocktail lounge. Surfaces that stain or scratch under these basic elements will degrade the room's perceived value within months.
6. Threshold and Airflow Control
A Houston patio-connected lounge needs stronger threshold, airflow, and humidity planning than a sealed interior hotel bar with controlled climate from arrival to exit. The transition zone dictates the initial physical comfort of the guest stepping inside.
7. Clearances Along the Restroom Route
The path to the restroom handles constant two-way traffic. Navigating this route should never require guests to brush against seated patrons or interrupt a server carrying a tray of craft cocktails.
8. Host Stand and Entry Pacing
The host stand corner absorbs heavy physical contact and manages the room's initial pacing. Proper placement prevents valet arrivals from stacking up awkwardly inside the door.
9. Bartender Task and Pickup Zones
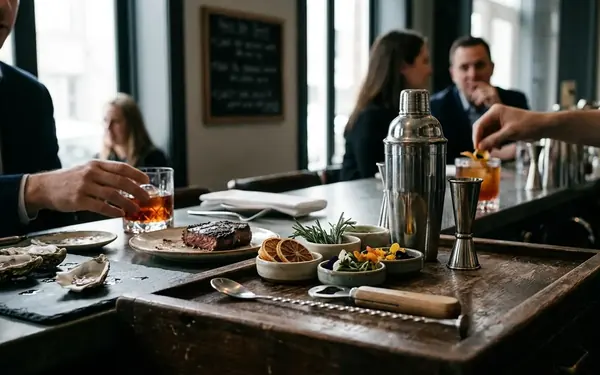
Spirits & mixology require precision. Focused task light at the bartender’s mixing, garnish, POS, and pickup zones ensures speed and accuracy. This light must remain contained, never bleeding harsh glare into the seated guest's sightline.
A Copyable Reset for a Small Houston Lounge
A 20-seat lounge often cannot solve discomfort with a full renovation. This sequence provides a practical reset for a room that feels dim, loud, and crowded during pre-dinner service.
- Step 1: Observe one complete peak period from the first surge to the final table reset. Mark every spot where guests pause for more than five seconds, lean toward each other repeatedly, hold the menu unusually close, or leave a stool unused.
- Step 2: Reduce glare by moving bright light away from guest faces. Add focused task light directly at the bartender’s mixing, garnish, POS, and pickup zones.
- Step 3: Repair the foot rail exactly where guests actually place their feet. Add discreet hooks beneath the bar at the seats most likely to be used by guests carrying handbags or jackets.
- Step 4: Soften one hard zone first. Target a glass-facing wall, an exposed plaster section, or a bare banquette back using curtains, upholstered panels, or heavier banquette fabric to absorb harsh acoustic reflections.
Your Thoughts
No comments so far.
Add Your Thoughts